How to Remove Gel Nail Polish Without Damage: The Complete Method
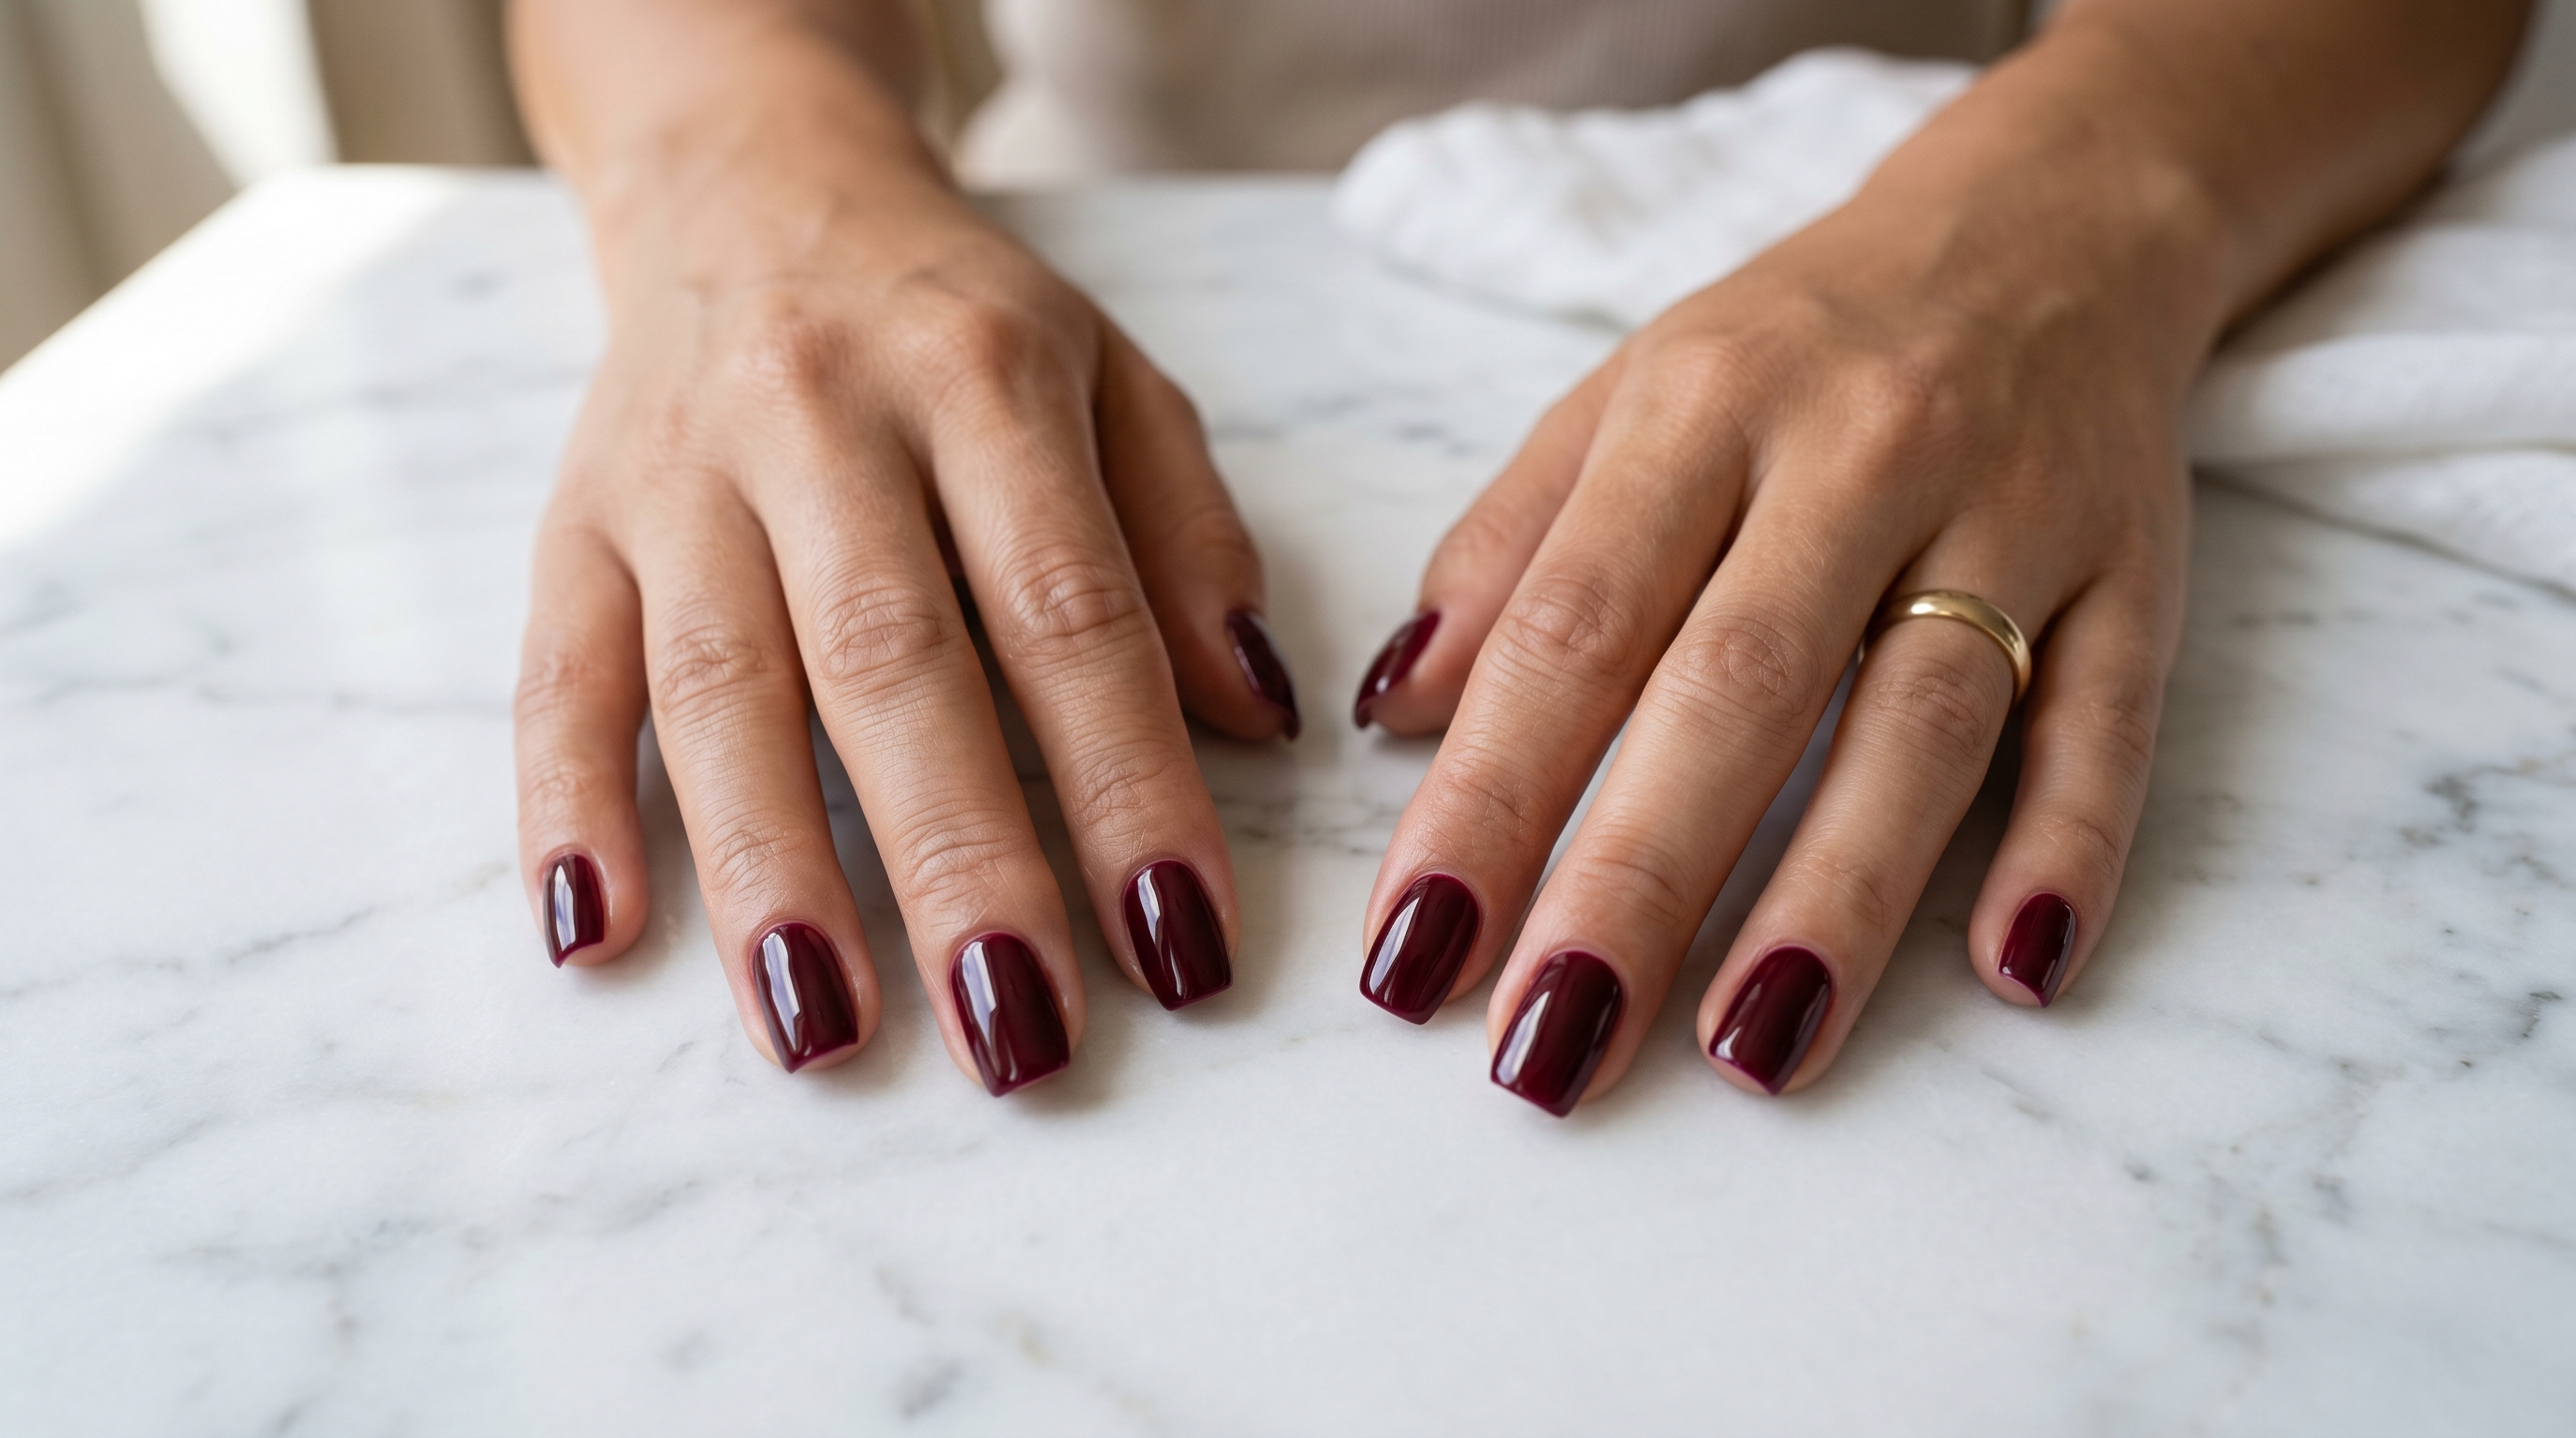
Peeling gel polish off your nails feels satisfying for about three seconds. Then you see the damage: white, chalky patches where the surface layer of the nail plate came away with the gel. That layer doesn't grow back quickly. Depending on how aggressively gel was forced off, it can take three to six months of regrowth before the nail plate fully recovers its density and smoothness.
The correct method for how to remove gel nail polish without damage takes 15–20 minutes the first time, 10–12 minutes once you have the process down. Every step exists for a reason. The foil wrap is not optional. The waiting time is not optional. The "gently slide, don't force" instruction is not optional. This guide explains each step, why it works, what to use, and how to recover your nails when the removal is done.
All products referenced are available through the nail collection at The Beauty Box.
Why Peeling or Forcing Gel Polish Off Damages Your Nails
Gel polish forms a polymer network that bonds mechanically to the nail plate surface. When gel is peeled or forced off before it has been broken down by acetone, those bonds don't release cleanly — they fracture at the weakest point, which is within the top layer of the nail plate itself. The visible result is white, opaque patches on the nail surface where the outer nail plate material has been physically removed.
This matters beyond aesthetics. The nail plate is composed of layers of flattened keratin cells. The outermost layers are the most densely packed and provide structural integrity and surface hardness. Once stripped, the nail plate becomes softer, more porous, and more susceptible to breaking, peeling, and absorbing pigment. Each improper removal compounds the damage from the previous one, creating a cycle where nails get progressively thinner and weaker with every gel application.
The number one cause of nail damage from gel polish is not the gel itself. It's the removal. A correctly applied and correctly removed gel manicure causes minimal damage to the nail plate. The same manicure forced off in a hurry removes the surface of the nail with it.
Nail professionals who see gel-damaged clients almost universally trace the damage to home removal attempts. The two most common removal mistakes are peeling (no acetone at all) and insufficient soak time followed by force. Both have the same outcome: physical nail plate trauma that requires weeks to months to grow out.
What You Need to Remove Gel Polish Without Damage
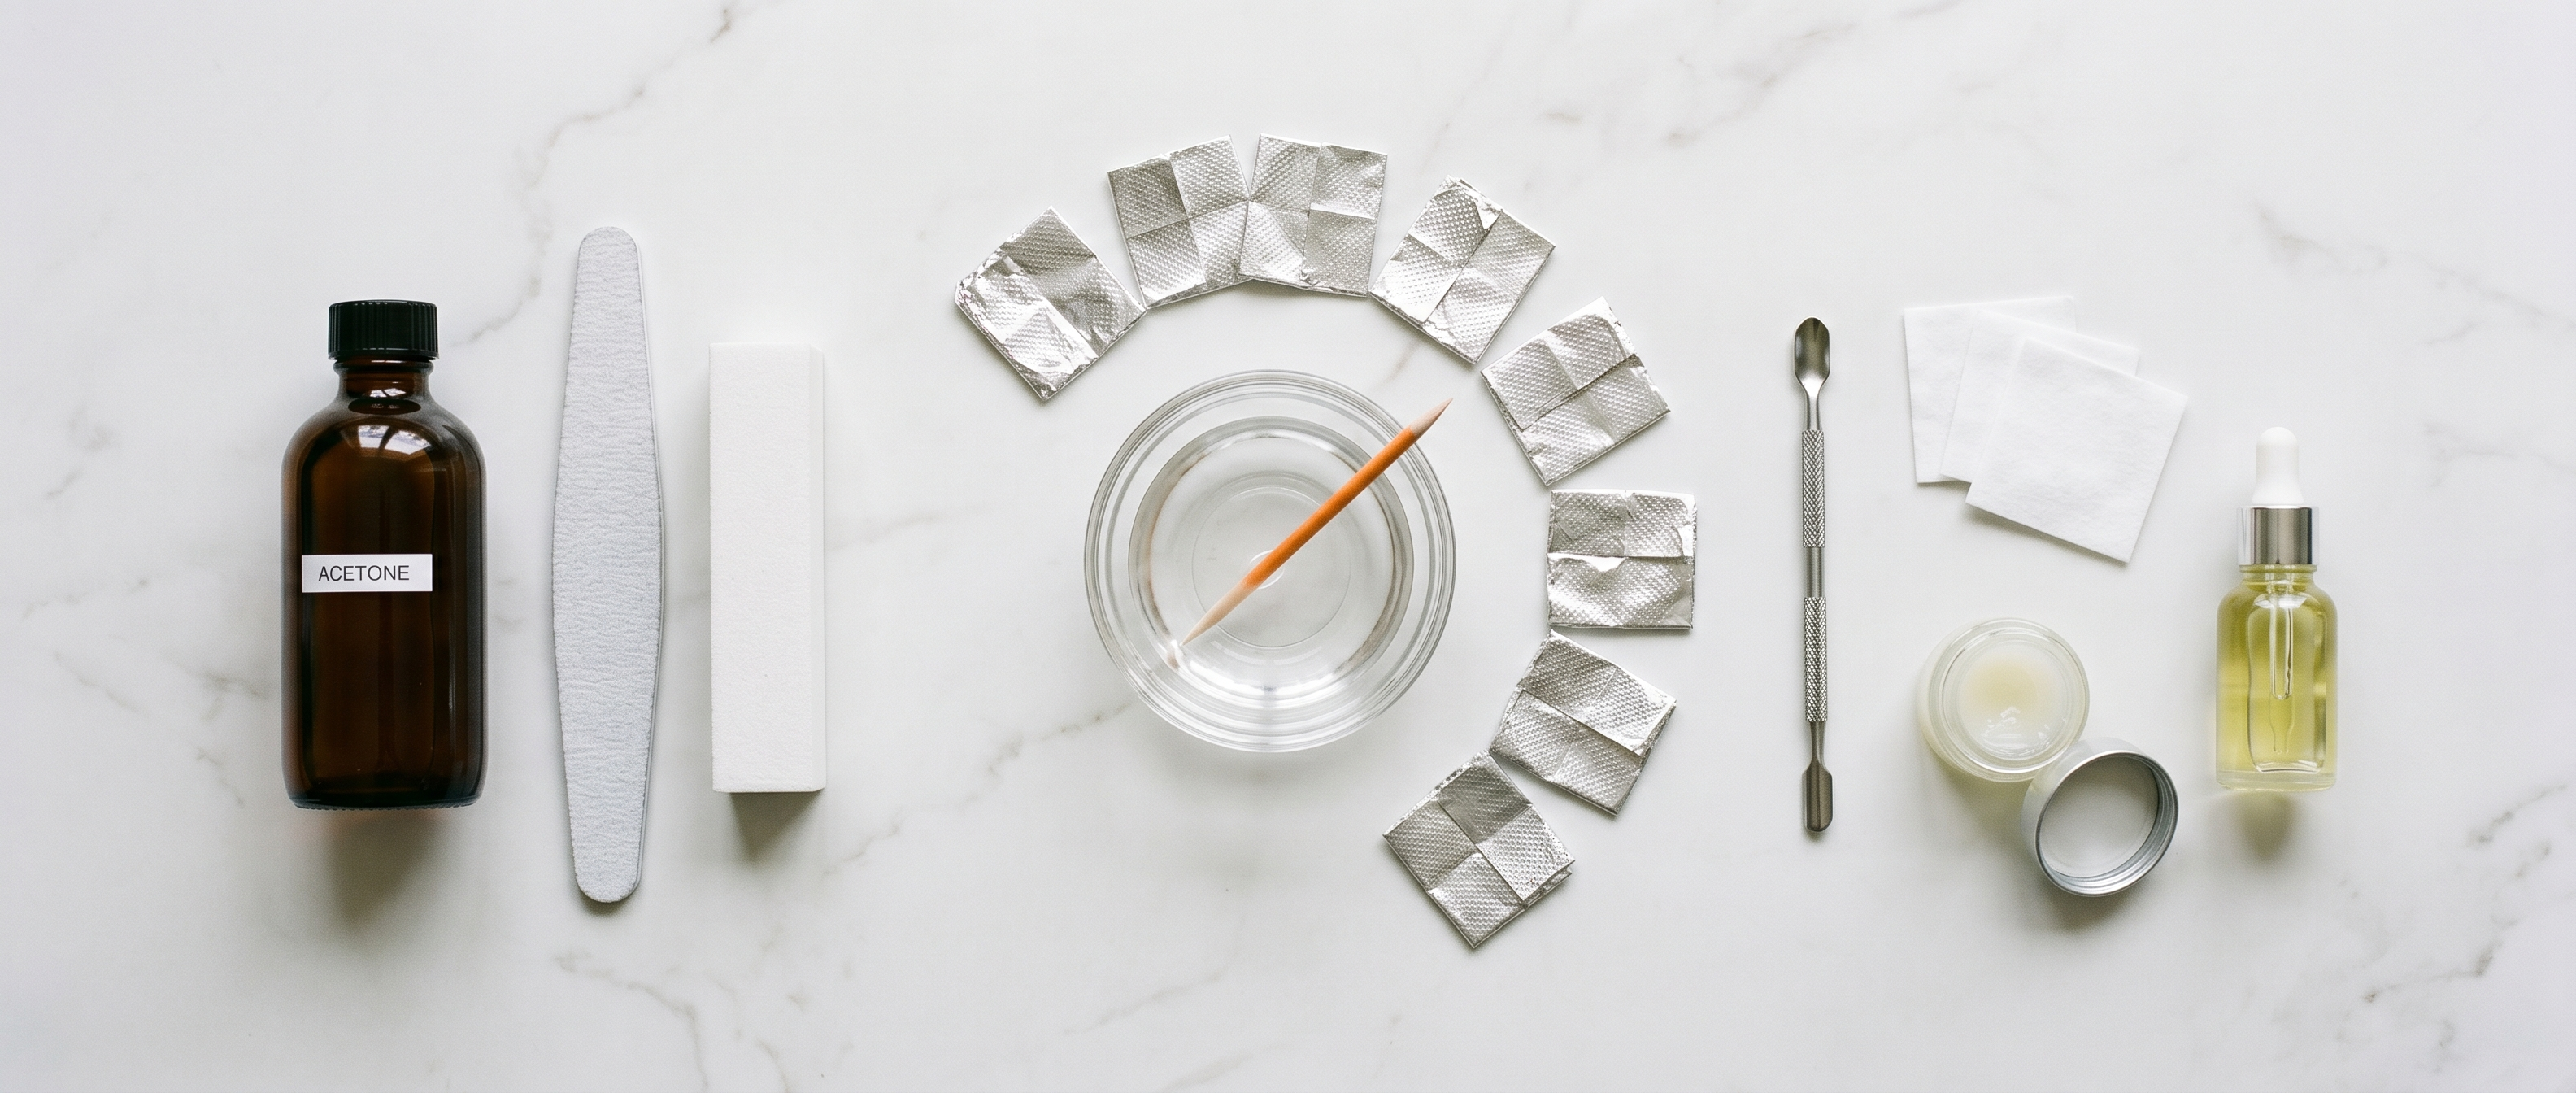
Before starting, gather everything. Stopping mid-process because you're missing something is how people start peeling prematurely. Here is the complete equipment list for removing gel nail polish without damage:
-
Pure acetone (100%, not acetone-based nail polish remover, which is diluted and takes significantly longer). Available in pharmacies and through nail supply retailers.
-
Lint-free nail wipes or cotton pads — not cotton balls, which leave fibres that contaminate the nail surface
-
Aluminium foil cut into 10 rectangles, approximately 10cm × 10cm, large enough to wrap around a fingertip
-
A 180-grit nail file or nail buffer — for scoring the top coat surface before acetone application; find options in the nail file collection
-
An orange wood stick or metal cuticle pusher — for gently sliding softened gel off the nail after soaking; find these in the nail accessories collection
-
Petroleum jelly or thick hand cream — applied to the skin around the nails before wrapping to protect skin from prolonged acetone exposure
-
Cuticle oil or a nail treatment — applied immediately after removal to begin rehydrating the nail plate
⚠️ Acetone safety: Acetone is flammable — no open flames or candles during this process. Work in a ventilated space. If you have compromised skin around the nails (cuts, open hangnails, broken skin), apply petroleum jelly to those areas before acetone contact. Avoid prolonged acetone contact with the eyes.
How to Remove Gel Nail Polish Without Damage: Step-by-Step
Step 1: File Off the Top Coat Shine (2–3 Minutes)
Gel top coats are designed to be resistant to solvents — that's what makes them shine for three weeks. That resistance also means acetone takes significantly longer to penetrate an intact top coat. Filing off the shine layer is not optional: it reduces soak time from 20–30 minutes to 10–15 minutes and prevents the skin-drying effects of prolonged acetone exposure.
Use a 180-grit file (not coarser — 80 or 100 grit removes too much nail plate) and file in one direction across the nail surface until the gel surface looks dull and matte. You're removing the shine, not the colour beneath it. The objective is a scratched, acetone-permeable surface, not a dramatically thinned nail. Stop when the shine is gone completely across the whole nail.
Tip: If you have a nail e-file, a medium-grit carbide bit on the lowest speed setting removes the shine layer faster and more evenly than a hand file. Keep the drill flat and moving — never stay in one spot. The nail drills and bits collection at The Beauty Box includes the Kiara Sky Beyond PRO drill and a 17-piece professional bit collection.
Step 2: Protect the Surrounding Skin (1 Minute)
Apply a thin layer of petroleum jelly or thick hand cream to the skin immediately surrounding each nail — the sidewalls, the skin below the free edge, and the cuticle area. Acetone strips the natural lipid layer from skin and with prolonged exposure causes dryness, cracking, and temporary sensitivity. The barrier cream reduces the skin contact surface area for acetone without affecting the nail surface above.
Step 3: Soak the Lint-Free Pads (30 Seconds)
Cut or fold the lint-free pads to fingertip size. Saturate each pad with pure acetone — not damp, saturated. The acetone needs to stay in continuous contact with the nail surface for the full soak time. A pad that dries out after five minutes because it wasn't saturated enough is a common cause of unsuccessful removal attempts.
Step 4: Wrap Each Nail in Foil (2–3 Minutes)
Place a saturated pad directly on the nail — acetone side against the gel surface — and wrap the foil rectangle around the fingertip, pressing it snug but not tight enough to restrict circulation. The foil serves two functions: it holds the pad in contact with the nail and creates a sealed environment that prevents the acetone from evaporating before it has done its work.
Work quickly across all ten fingers. An alternative to foil are nail soaker clips — reusable plastic clips that hold the acetone pad against the nail without cutting and wrapping foil. These are faster to apply, faster to remove, and reusable. Both methods produce equivalent results.
Step 5: Wait the Full Time (10–15 Minutes)
This is the step most people fail. Ten minutes feels like a long time. At ten minutes, properly soak-off gel polishes — Kiara Sky soak-off, LeChat Perfect Match, Chaun Legend LGND — should have softened enough to slide off with minimal pressure. At eight minutes, the gel may still be partially adhered and removing it requires force. Force = damage.
If you applied a gel that you know has particularly strong adhesion (some rubber base coats are harder to dissolve), go to 15 minutes. If your nails are naturally oily, the oil acts as a partial barrier to acetone penetration — increase soak time rather than increasing force.
The test: remove one foil wrap after 10 minutes and gently push the softened gel with an orange stick. If it slides off in sheets with light pressure — correct. If it requires scraping or noticeable force — re-wrap and wait another 5 minutes before testing again. Never increase pressure as a substitute for soak time.
Step 6: Gently Remove the Softened Gel (3–5 Minutes)
Remove one foil at a time. While the nail is still warm and the gel is still softened by the acetone, use the flat edge of a cuticle pusher or orange wood stick to gently push the gel from the cuticle area toward the free edge. The correctly-softened gel will roll and slide off in soft sheets. Work from the cuticle down — don't lever from the free edge upward, which creates a prying motion that puts mechanical force on the nail plate.
If any gel resists, do not force it. Re-apply the acetone pad to that nail, re-wrap, and wait another three to five minutes. Repeat until it releases with light pressure only. Some gels — particularly hard gel or builder gel — require longer soak times or mechanical filing to remove rather than acetone dissolution alone.
Step 7: Lightly Buff the Surface (1 Minute)
Once all gel is removed, lightly buff the nail surface with a fine grit buffer (220 grit or above) to smooth any slight unevenness from the removal. Do not use a coarse file at this stage. The nail plate is temporarily dehydrated and more porous immediately after gel removal — it is at its most vulnerable point in the gel cycle. The goal of buffing here is smoothing, not removing material.
Check the nail file collection at The Beauty Box for the right grit options, including 4-way buffers that combine multiple surfaces for different stages of nail preparation.
Step 8: Wash, Dry, and Treat Immediately
Wash the hands thoroughly to remove all acetone and gel residue. Dry completely. Then — immediately, before doing anything else — apply cuticle oil or a nail treatment product to every nail. This is the step that separates nail health maintenance from nail damage, and it's the step most people skip because the nails look fine immediately after removal. The damage from dehydration shows up three to five days later as brittleness, peeling, and surface ridging.
The Aftercare That Prevents Long-Term Nail Damage
Knowing how to remove gel nail polish without damage is half the equation. The other half is what you do in the 24–48 hours after removal to restore the nail plate to full health before any new gel application.
Cuticle Oil: The Immediate Step
Cuticle oil applied immediately after gel removal serves as an emergency rehydration treatment for the nail plate. The nails have been in contact with acetone — a powerful solvent that strips natural oils from both the nail plate and the surrounding skin. Cuticle oil replaces those oils within minutes and begins the process of restoring the nail's natural flexibility.
The Kiara Sky Rose Scented Cuticle Oil — reviewed as "one of the most moisturizing cuticle oils I've used" by verified customers at The Beauty Box — is a practical immediate-use option. Apply to every nail and massage in for 30 seconds per nail. Repeat two to three times over the 24 hours following removal. Find cuticle oils in the nail treatment collection.
Nail Treatment Strengtheners: The Recovery Protocol
For nails that show signs of thinning, peeling, or ridging after gel removal, a nail protein treatment used during the break between gel applications accelerates recovery. The nail treatment collection at The Beauty Box carries 69 products specifically for nail recovery and strengthening, including:
-
Nailtiques Formula 2 Nail Protein (15ml) — a nail protein treatment formulated to strengthen and nourish nails, penetrating to repair and protect from within. A salon-tested classic for damaged nails.
-
Nailtiques Formula 3 Nail Protein Strengthening Treatment — contains hydrolyzed keratin, protein, gelatin, and calcium. Designed to build a healthy nail foundation for nails requiring significant structural recovery.
-
Nail Tek Hydrate 4 Moisturizing Strengthener — enriched with calcium and vitamins A and E for extra strength. Specifically formulated for weak and damaged nails; addresses the softness and brittleness that follows aggressive gel removal.
-
Nail Tek CITRA Nail Strengthener — conditions, improves, and protects already healthy nails. Best used as a maintenance product once the acute recovery phase is complete.
-
Nail Tek Renew Natural Cuticle Oil with Tea Tree — helps restore and maintain healthy cuticles and nails with a tea tree formulation. Addresses the cuticle dryness and damage that frequently accompanies gel removal.
-
Nail Tek Type 2 for Soft and Peeling Nails — a base coat formulated specifically for soft, peeling nails; minimizes breakage and smooths uneven nail surfaces. The right choice for nails in the acute recovery phase before the next gel application.
-
Nail Tek Foundation Xtra 4 Ridge Filling Strengthening Base Coat — designed for weak and damaged nails; fills ridges and restores fragile nail structure with a blend of strengtheners, conditioners, and micro-fibres.
-
Nail Tek Nail Repair Kit — for nails with cracks or breaks caused by improper removal; a complete kit to repair torn, cracked, or chipped nails so they blend seamlessly with a new polish application.
Recovery Timeline: What to Expect
|
Time After Removal |
What's Happening in the Nail |
What to Do |
|---|---|---|
|
Immediately |
Nail plate dehydrated, porous, temporarily softened by acetone exposure |
Apply cuticle oil, massage in. Apply a thin hand cream. Avoid soaking in water for 2 hours. |
|
Hours 1–24 |
Nail plate beginning to rehydrate from cuticle oil. Surface may show slight ridging or whiteness. |
Continue cuticle oil every 4–6 hours. Avoid prolonged water contact (dishes, long baths). |
|
Day 2–3 |
Nail plate stabilising. Peeling or brittleness from damage (if present) may begin to show. |
Introduce a nail protein treatment (Nailtiques Formula 2, Nail Tek Hydrate 4). Apply daily as a base. |
|
Day 4–7 |
Natural oil production beginning to restore nail surface. Ridging may still be visible. |
Continue nail treatment. Use a ridge-filling base coat (Nail Tek Foundation Xtra 4) if applying polish. |
|
Week 2+ |
Nail plate progressively recovering. New growth at cuticle shows undamaged nail emerging. |
Maintain cuticle oil routine. Can begin new gel application if nail plate feels firm and smooth. |
Can You Remove Gel Polish Without Acetone?
The short answer: not effectively, and not without more damage risk. Gel polish is a cured polymer — it does not respond meaningfully to non-acetone removers, alcohol, or warm water. Non-acetone removers contain ethyl acetate, which softens regular nail polish but has minimal effect on cross-linked gel formulas.
The two alternatives most commonly suggested online — filing the gel off entirely with an e-file, or soaking in warm soapy water — carry specific risks.
E-File Removal Without Acetone
An electric nail drill can remove gel polish without acetone by filing the product down to the natural nail plate. This works and is used by professional nail technicians, but it requires significant skill to avoid filing into the nail plate itself. Without experience, e-file removal causes more surface damage than improper acetone removal. The combined method — e-file to remove the shine and thick colour layer, then acetone soak-off for the base coat — is the professional approach.
If using an e-file for gel removal, the Kiara Sky Beyond PRO Portable Nail Drill on the lowest speed setting with a medium-grit carbide bit is the appropriate tool. The 17-piece drill bit collection provides the range of bits needed for different stages of removal.
Warm Water Soaking
Warm water does not remove gel polish. It does soften the natural nail plate and the adhesion at the gel-nail interface, but not enough to remove gel without tearing. Attempting gel removal after water soaking — by pulling or peeling — causes the same surface layer damage as peeling dry. The warmth makes the nail plate more pliable, which makes damage more likely, not less.
How Removal Differs by Gel Type
Not all gel polishes remove the same way. The standard method covered above applies to soak-off gel polish — the most common format for colour services. Other gel formats require modifications.
Soak-Off Gel Polish (Standard)
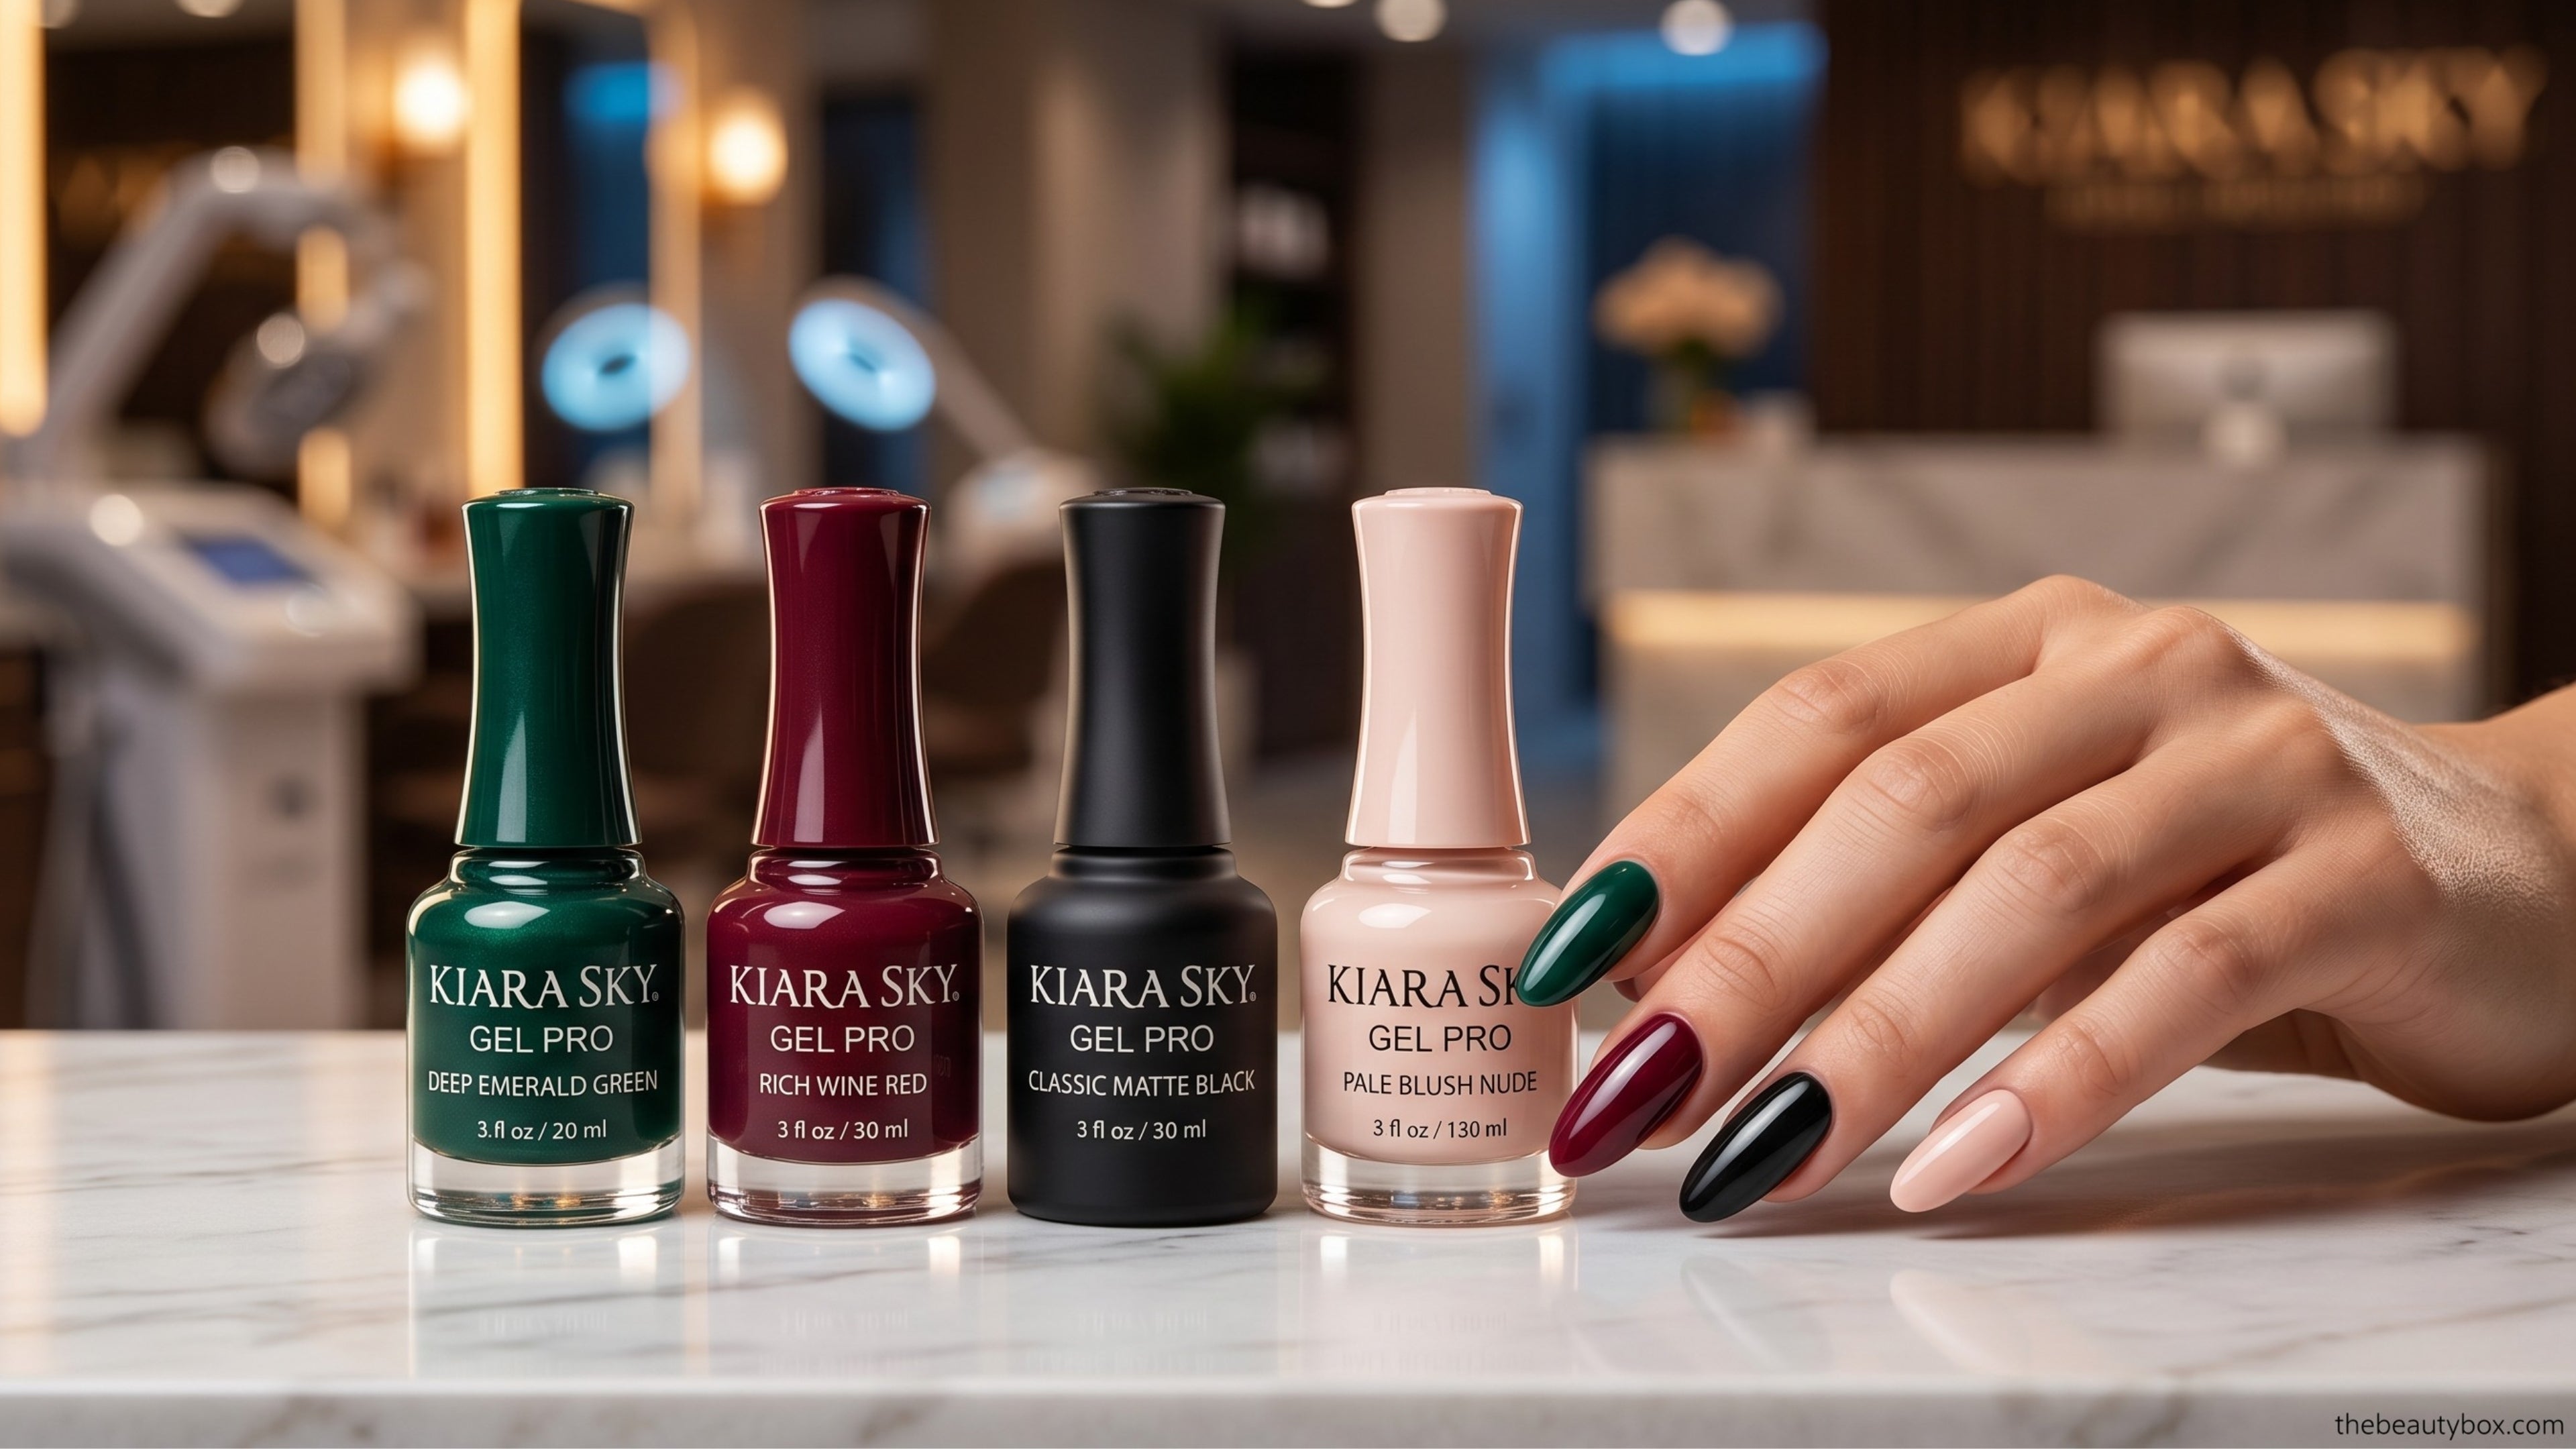
The full method described above. Kiara Sky soak-off, LeChat Perfect Match, Chaun Legend LGND, and Revel Nail are all soak-off formulas. Ten to fifteen minutes with pure acetone after filing off the shine layer is the correct protocol. Browse the full gel polish collection at The Beauty Box to identify your specific gel brand before removal.
Kiara Sky Gelly Tips (Soft Gel Extensions)
Gelly Tips are soak-off soft gel extensions. They remove with acetone following the same protocol as standard gel polish, but require longer soak time — 15–20 minutes — because the builder gel used to bond the extension is thicker than standard colour gel. Filing the surface shine off before soaking is particularly important for Gelly Tips. After the builder gel softens, the extension and the colour layer both come away together. Find Gelly Tip removal tools and aftercare in the Gelly Tips collection and nail treatment collection.
Hard Gel
Hard gel does not dissolve in acetone. This is the most important distinction in gel removal. If you've had a hard gel service — identifiable by its structural thickness, use to build nail length, and a salon that told you it requires filing to remove — acetone will not remove it. Hard gel must be filed off mechanically by a nail professional with an e-file. Attempting to dissolve hard gel with acetone and then forcing it off causes significant nail damage.
⚠️ If you're unsure what type of gel you have, test one nail with the standard acetone soak method for 15 minutes. If the product has not softened at all, stop. You likely have hard gel that requires professional e-file removal. Do not increase soak time and force — it will not dissolve further.
HEMA-Free Gel Polish
HEMA-free gel polishes, including the Kiara Sky Gel Pro line available through the HEMA-free collection at The Beauty Box, remove with the same standard soak-off method as conventional gel. The HEMA-free formulation changes the sensitization risk profile, not the removal chemistry.
The Six Most Common Gel Removal Mistakes
1. Peeling or picking at the gel
The highest-damage removal method. Removes nail plate surface with the gel. No exceptions: never peel.
2. Skipping the shine-file step
Doubles the acetone soak time needed and increases skin exposure. Two minutes of filing prevents ten minutes of unnecessary acetone contact.
3. Using diluted acetone-based nail polish remover
Diluted removers work on regular polish. They have minimal effect on cured gel polymer and require dramatically longer contact time for partial results. Use pure 100% acetone.
4. Not waiting long enough, then forcing the gel off
The most common mistake after peeling. Eight minutes of acetone and then scraping = gel that hasn't fully softened being physically torn off. Wait the full time.
5. Skipping aftercare
Nails feel fine immediately after removal. The damage from dehydration appears three to five days later. Cuticle oil applied immediately after removal is not optional maintenance — it is the treatment.
6. Applying new gel immediately without a recovery day
The nail plate is at its weakest and most porous immediately after gel removal. New gel applied over a dehydrated, porous nail plate will adhere inconsistently and lift faster. A 24-hour recovery window with cuticle oil and nail treatment improves the adhesion of the next application.
Frequently Asked Questions
How long does it take to remove gel nail polish without damage?
10–20 minutes total, depending on gel type and coat thickness. The breakdown: 2–3 minutes to file off the shine layer, 1 minute to apply petroleum jelly and wrap, 10–15 minutes of acetone soak time, 3–5 minutes to remove softened gel, 1 minute for buffing and washing. Do not try to compress the soak time. Everything else in the process is flexible; the soak time is not.
Can acetone damage my nails if I use it correctly?
Acetone dehydrates the nail plate and surrounding skin temporarily. Correct removal technique — minimal soak time achieved by pre-filing, barrier cream on skin, immediate cuticle oil aftercare — keeps this dehydration within a range that the nail recovers from within 24–48 hours. Acetone alone, used correctly and infrequently (every 2–3 weeks), does not cause structural damage to healthy nails. Peeling caused by too little acetone or insufficient wait time causes the damage, not the acetone itself.
What if some gel is still stuck after soaking?
Re-wet the pad with acetone, re-wrap, and wait another five minutes. Test again with light pressure only. Never increase force as a substitute for soak time. If after three soak cycles (totalling 25–30 minutes) the gel still has not fully softened, you may have a hard gel service that requires professional e-file removal rather than acetone dissolution.
How often is it safe to do gel removal at home?
As frequently as you apply gel, provided correct removal technique is followed each time. The two-to-three-week gel cycle — application, full wear, correct removal, 24-hour recovery, new application — is sustainable indefinitely when the removal and aftercare protocols are followed. It is the shortcuts in removal and the skipped aftercare that accumulate damage, not the frequency itself.
What products should I use for nail recovery after gel removal?
Cuticle oil immediately after removal (Kiara Sky Rose Scented Cuticle Oil, Nail Tek Renew Cuticle Oil with Tea Tree), followed by a nail protein treatment daily during the break period (Nailtiques Formula 2 or 3, Nail Tek Hydrate 4). For nails with existing damage — peeling, ridging, brittleness — the Nail Tek Nail Repair Kit provides a complete repair solution. All are available in the nail treatment collection at The Beauty Box.
The Bottom Line
The question of how to remove gel nail polish without damage has a definitive answer: pure acetone, pre-filed surface, full soak time, light pressure only, immediate cuticle oil aftercare. Every step that gets skipped shows up on the nail plate as damage within a week.
The products that matter most in this process are pure acetone (not diluted nail polish remover), a correct-grit nail file for the pre-soak step, and cuticle oil for immediate aftercare. For nails that are already damaged from previous removals, the Nail Tek and Nailtiques ranges available through the nail treatment collection at The Beauty Box provide targeted recovery protocols based on the specific damage type: Hydrate 4 for weak and damaged nails, Type 2 for soft and peeling nails, Foundation Xtra for ridge filling and strengthening, Nailtiques Formula 2 and 3 for protein rebuilding.
Get the removal right and the nails stay healthy through every gel cycle. Skip the process and the damage accumulates faster than gel cycles can repair it.